
How to install Addons on a Minecraft Bedrock Server
Want to make your Bedrock server more fun? Here’s a simple guide to installing addons, including resource and behavior packs, step by step.
Sometimes you join a Minecraft world and think:
“Dang, I wish I could add cool mobs or custom weapons here!”
Let’s say you run a small Bedrock server with your friends.
You’ve found a really cool RLCraft Addon online and want everyone to use it — but after uploading, nothing works... 😩
Don’t worry, we’ve all been there.
Let’s walk through how to properly install Addons so everything runs smoothly! 🚀
1. What Are Addons?
In Minecraft Bedrock Edition, Addons are like mods — they can change how mobs behave, add new items, or even modify the whole world.
Basically, there are two types:
- 🧠 Behavior Pack → controls how entities act or how the game logic works.
- 🎨 Resource Pack → changes textures, sounds, or models.
When combined, they can transform your world into something totally new!
2. What You’ll Need
Here’s what you need to get started:
-
🖥️ Minecraft Bedrock Server
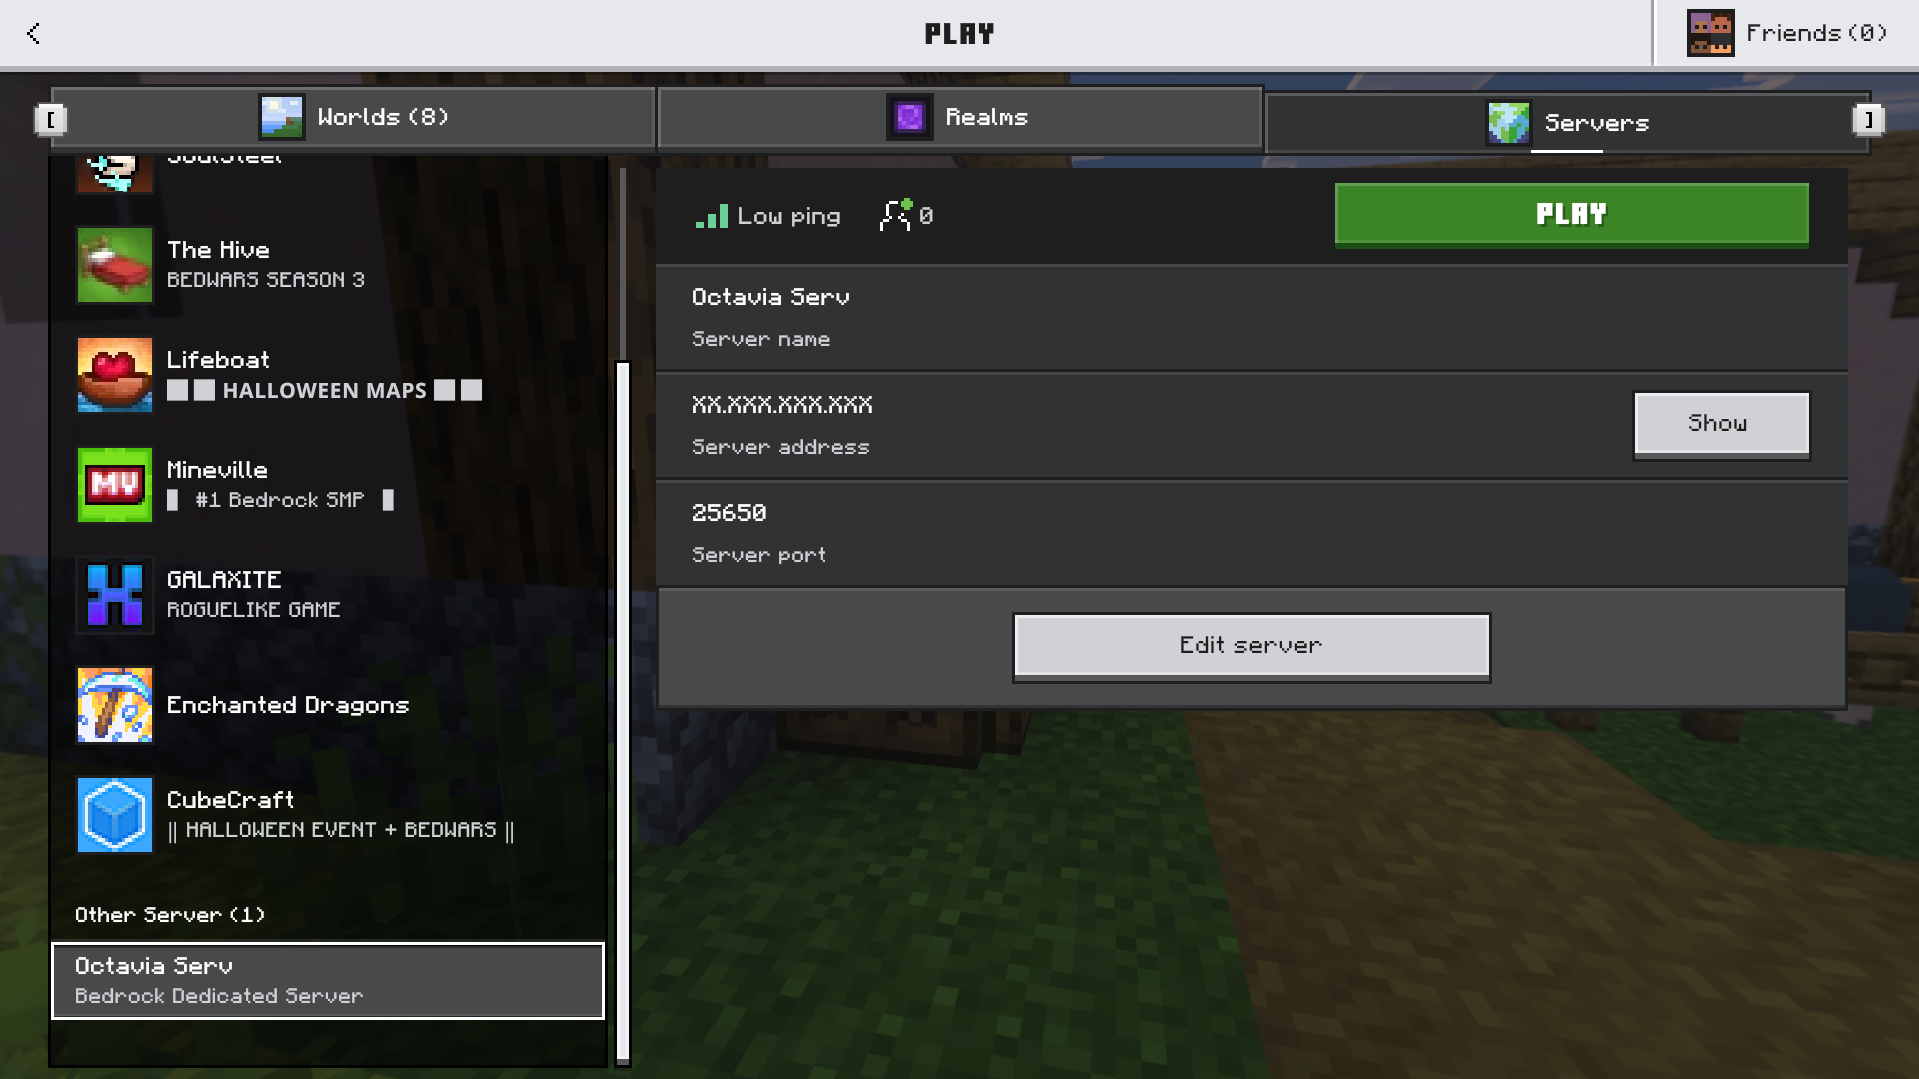
👉 Don’t have one yet? You can easily get a server from Octavia. -
📦 Your Addons (Resource + Behavior) → The Addons you want to install.
🧰 You Can Install Addons in 2 Ways:
- Directly on the Server → Manually edit the files and upload.
- Server → Singleworld → Server → Download the world, install the Addons locally, then re-upload it.
3.1 Installing Directly on the Server
If you want to do everything manually, here’s the setup — a bit more technical, but it gives you full control:
-
📂 Upload your Resource Pack to
worlds/Bedrock Level (or your world)/resource_packs/
(you can create the folder if it doesn’t exist) -
📂 Upload your Behavior Pack to
worlds/Bedrock Level (or your world)/behavior_packs/
(you can create the folder if it doesn’t exist)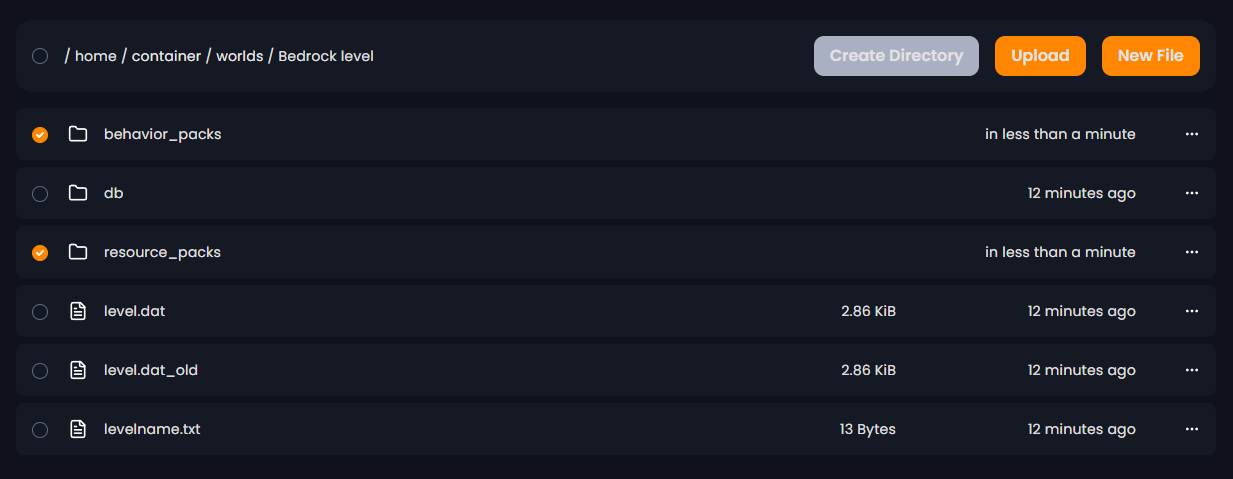
After that, link both packs to your world by creating and editing the following files:
📁 Resource Pack Config
Create world_resource_packs.json in the worlds/Bedrock Level (or your world) folder
[
  {
    "pack_id" : "", // Required, insert the Resource UUID
    "subpack" : "", // Optional, name of default subpack
    "version" : [ 0, 0, 0 ] // Required, Resource version
  }
]
Create world_resource_pack_history.json in the worlds/Bedrock Level (or your world) folder
{
  "packs": [
    {
      "can_be_redownloaded": false,
      "name": "", // Required, Resource name
      "subpacks_count": 0, // Optional
      "uuid": "", // Required, Resource UUID
      "version" : [ 0, 0, 0 ] // Required, Resource version
    }
  ]
}
📁 Behavior Pack Config
Create world_behavior_packs.json in the worlds/Bedrock Level (or your world) folder
[
  {
    "pack_id" : "", // Required, Behavior UUID
    "version" : [ 0, 0, 0 ] // Required, Behavior version
  }
]
Create world_behavior_pack_history.json in the worlds/Bedrock Level (or your world) folder
{
  "packs": [
    {
      "can_be_redownloaded": false,
      "name": "", // Required, Behavior name
      "uuid": "", // Required, Behavior UUID
      "version" : [ 0, 0, 0 ] // Required, Behavior version
    }
  ]
}
Once all files are uploaded and linked, restart your server — and your Addons should now load correctly! ✅
3.2 Installing via Server → Singleworld → Server
This one’s easier if you don’t want to touch JSON files.
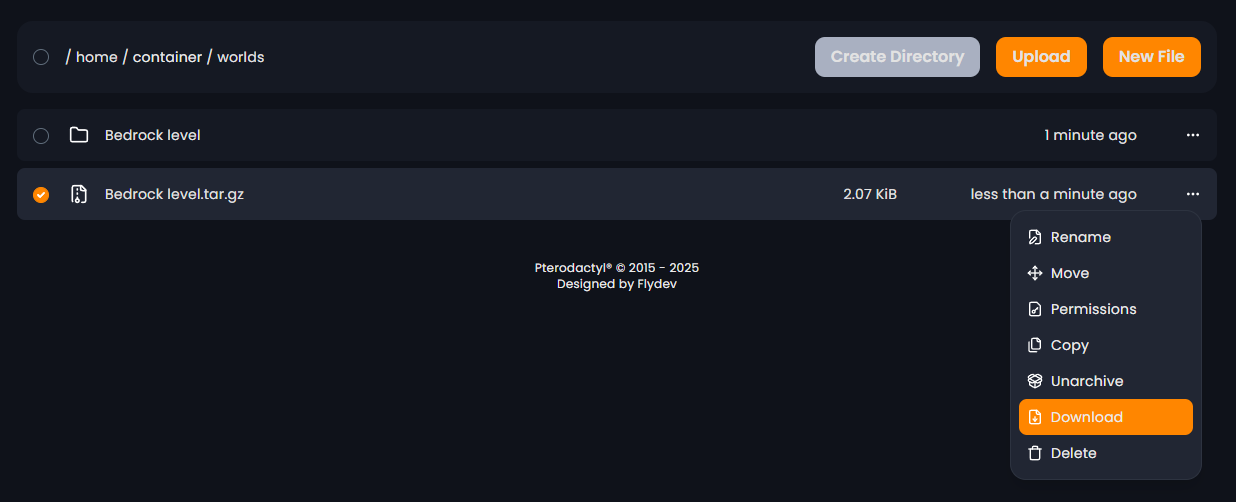
- 📥 Download your world from the server.
- 🗂️ Import the world into your Minecraft app.
- ➕ Install the Addons just like you would in singleplayer.
- 🗑️ Delete the old world folder from your server.
- ☁️ Re-upload the world back to your server.
- 🔁 Restart your server — and boom! Addons installed successfully.
🎉 All Done!
And just like that — your Bedrock server is alive with new Addons! No more errors, no more missing textures — only pure fun with your friends. 🥳
Need Help?
If you ever get stuck or want us to handle it for you, we’ve got you covered:
💡 Bonus: If you host your Minecraft server with Octavia, setup is 100% FREE — we’ll handle everything for you. 🚀