How to Crossplay Between Minecraft Java and Bedrock
Want to play Minecraft with friends but they’re on a different edition? Here’s an easy guide to enable crossplay between Java and Bedrock using Geyser.
Ever wanted to play Minecraft with your friends but they’re on a different edition?
No worries — with the help of Geyser and Floodgate, you can make your Java server accessible for Bedrock players too. Let’s walk through it step by step.
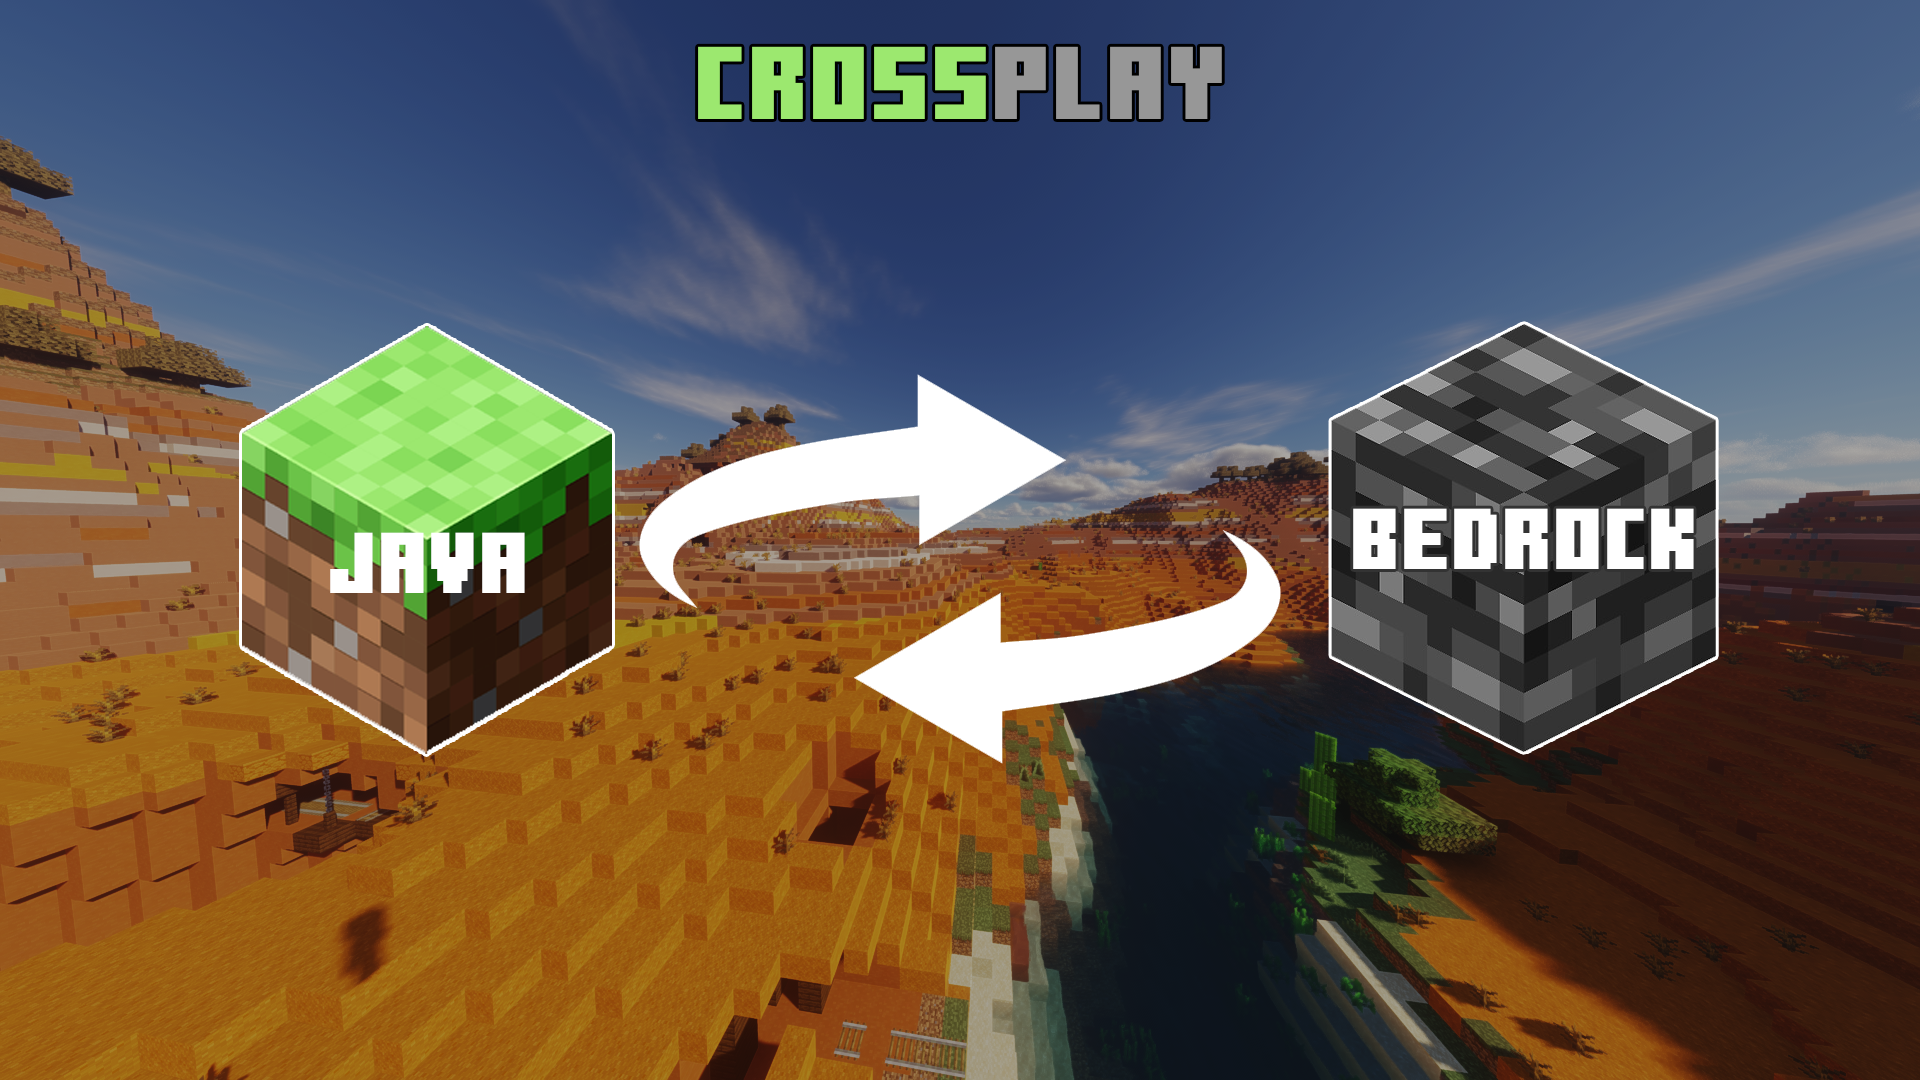
1. What is Crossplay?
Crossplay (or cross-platform play) means players from Java Edition and Bedrock Edition can join the same server — even if they’re on different devices like PC, mobile, or console.
Normally, Java and Bedrock can’t connect to each other. But thanks to plugins like Geyser and Floodgate, you can bridge that gap. 🚀
2. What You’ll Need
Here’s what you need to get started:
- A Minecraft Java server
👉 Don’t have one yet? You can easily get a server from Octavia. - GeyserMC plugin → the bridge between Bedrock and Java
- Floodgate plugin → required so Bedrock players can join without a Java account
- ViaVersion & ViaBackwards plugins → make sure players can join even if they’re on different Minecraft versions
3. Installing Geyser & Floodgate
- Head over to the GeyserMC website.
- Download both Geyser and Floodgate plugins (make sure they match your server software like Paper, Spigot, etc).
- Head over to the Via Version.
- Download both Via Version and Via Backwards plugins (make sure they match your server software like Paper, Spigot, etc).
- Drop the
.jarfiles into your server’s plugins folder. - Restart your server.
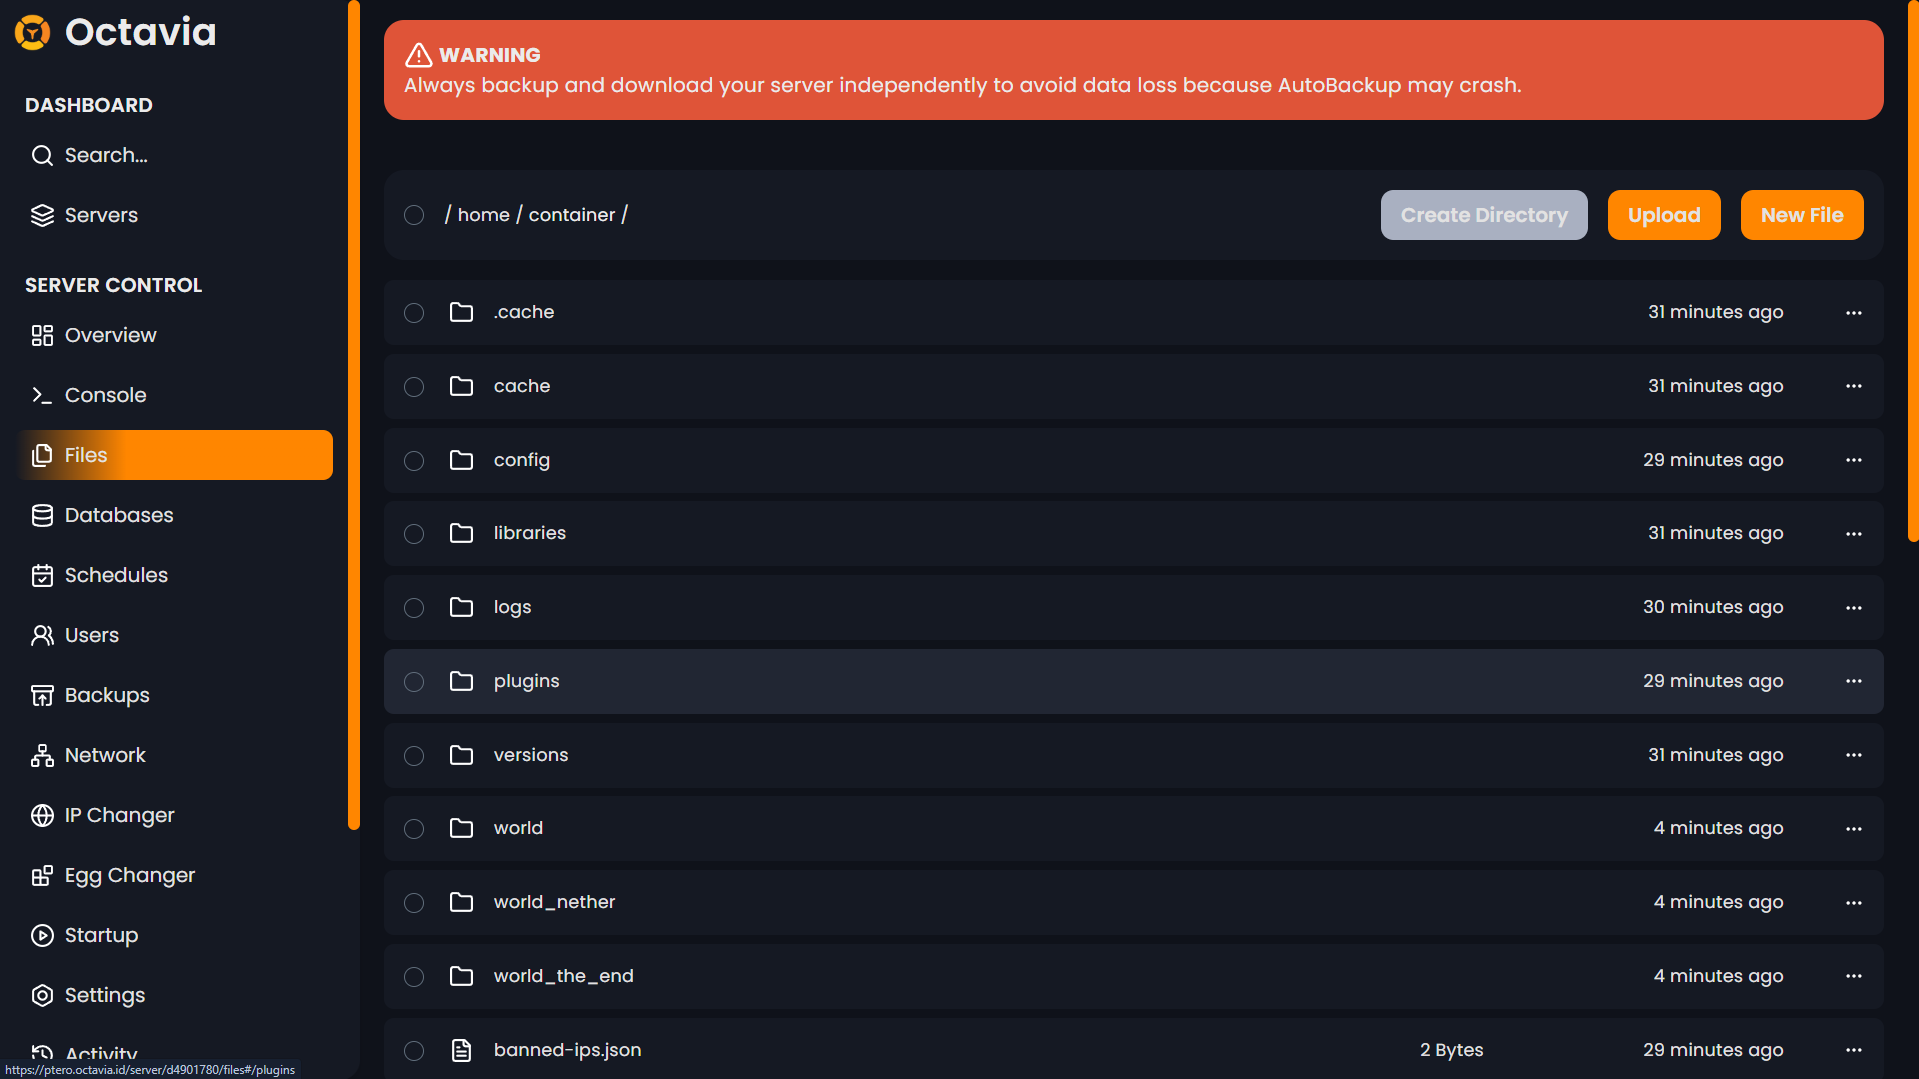
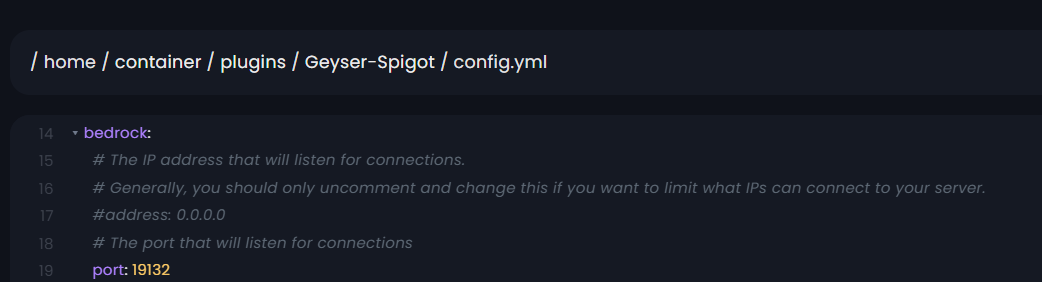
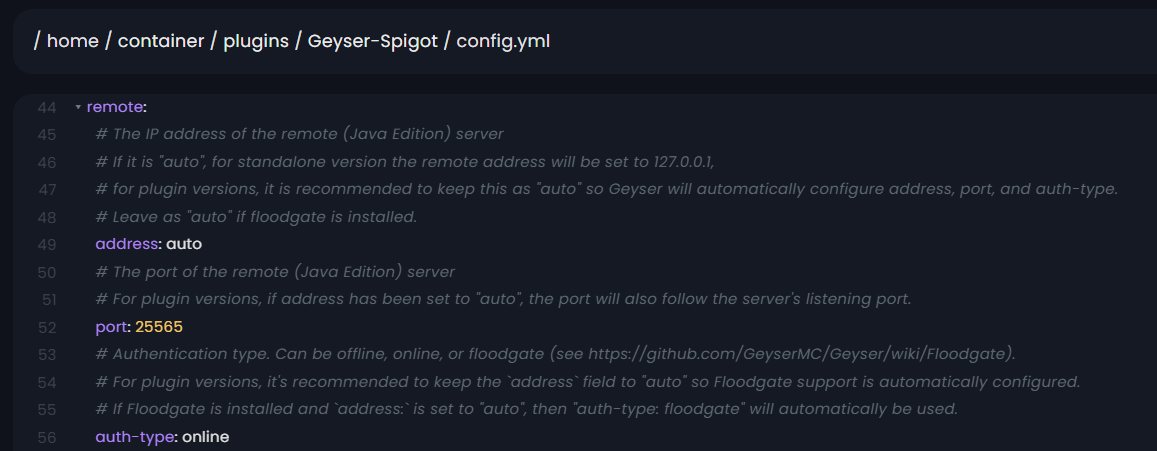
4. Configuring Geyser
Once installed, you’ll see a Geyser folder inside plugins. Open config.yml and check these settings:
-
bedrock port → default is
19132(you can change it to match your server port if needed)
-
remote address → usually
auto(no need to change) -
remote port → usually
25565(default Java port) -
remote auth-type → should automatically switch to
floodgateif Floodgate is installed
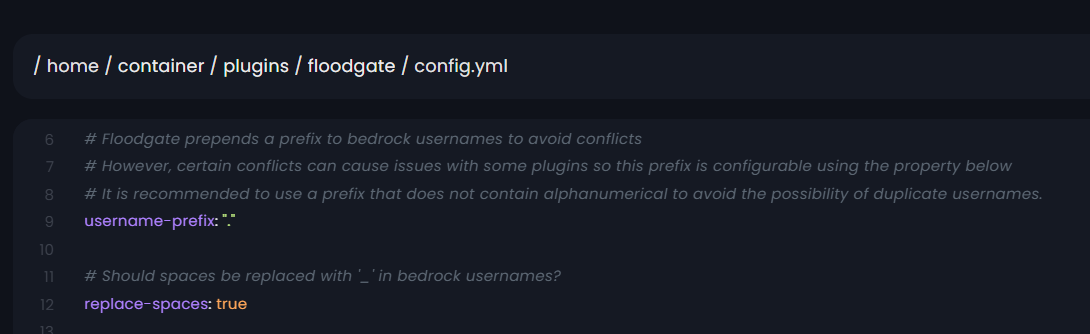
5. Configuring Floodgate
Floodgate also creates a folder in plugins. Open config.yml and check:
- username-prefix → usually
.(leave it as is) - replace-spaces → usually
true(also leave it as is)
6. Server Properties
Now open server.properties in your server’s root directory and change:
- online-mode → set to
false
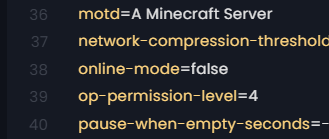
Save the file and restart your server. ✅
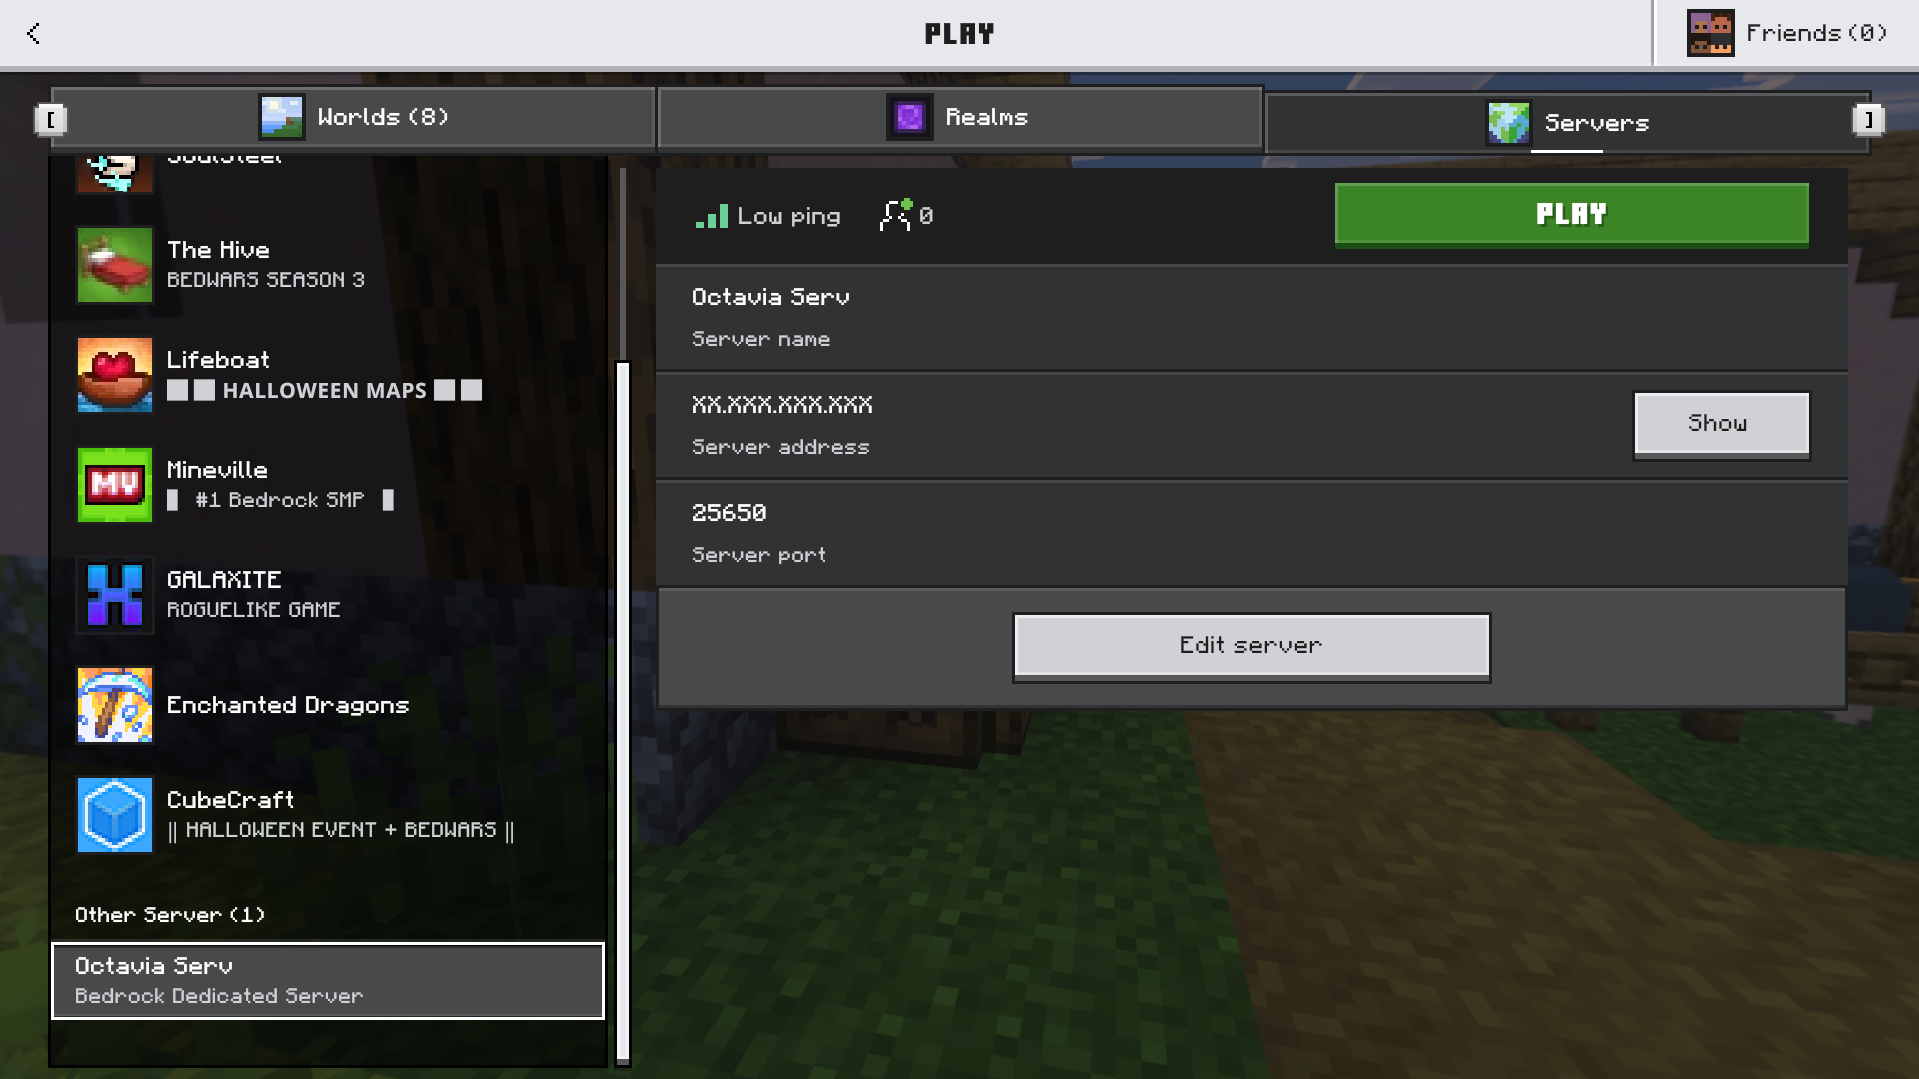
7. Joining the Server
Here’s how players can join:
- Java players → connect with your normal IP and port (example:
playmc.octavia.id:25601) - Bedrock players → use the same IP, but connect through the Bedrock port (example: IP
playmc.octavia.id, Port25601)
🎉 All Done!
That’s it! Now Java and Bedrock players can play together on the same server.
Invite your friends, install your favorite plugins, and enjoy true cross-platform Minecraft. 🌍✨
Need Help?
If you get stuck or just want us to handle it for you, we’ve got your back:
And remember: if you host your Minecraft server with Octavia, we’ll set up crossplay for you 100% free. 🚀